Easy Cheese Recipe from Scratch
Learn the simplest and easiest way to make cheese at home with just TWO ingredients!
One of my favorite things about homesteading is having fresh milk every day, but that milk adds up QUICK, and cheese is a great way to use up that milk, get some delicious fresh cheese, and enjoy a great byproduct as well, whey.
Why I Love this Recipe
Making different types of cheese can be a complicated and time-intensive process involving ingredients like rennet, starter cultures, and calcium chloride that most folks just don’t normally have laying around their house.
This oftentimes leaves the beginner homesteader putting off cheesemaking, but getting started is so much easier than you might think!
Using milk from our goats and homemade apple cider vinegar I made with apples from our orchard, this recipe is the perfect way to learn the basics of cheesemaking and simultaneously made sure nothing on my homestead went to waste.
While it’s a delicious snack all on its own, I especially enjoy using this cheese when making pizza in my wood-fired oven.
Is Making Cheese Hard?
No! Making cheese is incredibly easy, at least it is for this easy two-ingredient cheese I’m sharing today. There are certainly other recipes that are much more detailed, take many more supplies and ingredients, and have more cheese-making know-how, but this recipe is quite simple.
Equipment Needed
Large Pot
Thermometer (Optional)
Strainer
Cheesecloth (Optional)
Ingredients
2 gallons of fresh milk - I used farm-fresh goat’s milk in this recipe, but farm-fresh cow’s milk or even fresh pasteurized or raw milk from the store works as well.
¼ cup apple cider vinegar - Any acidifier such as white vinegar or lemon juice will work too. The measurement is not an exact science. Anywhere from a few tablespoons to ½ cup works well. Just be careful not to use more than ½ cup, or the cheese will begin to taste like vinegar.
How to Make Homemade Cheese
Heat the Milk
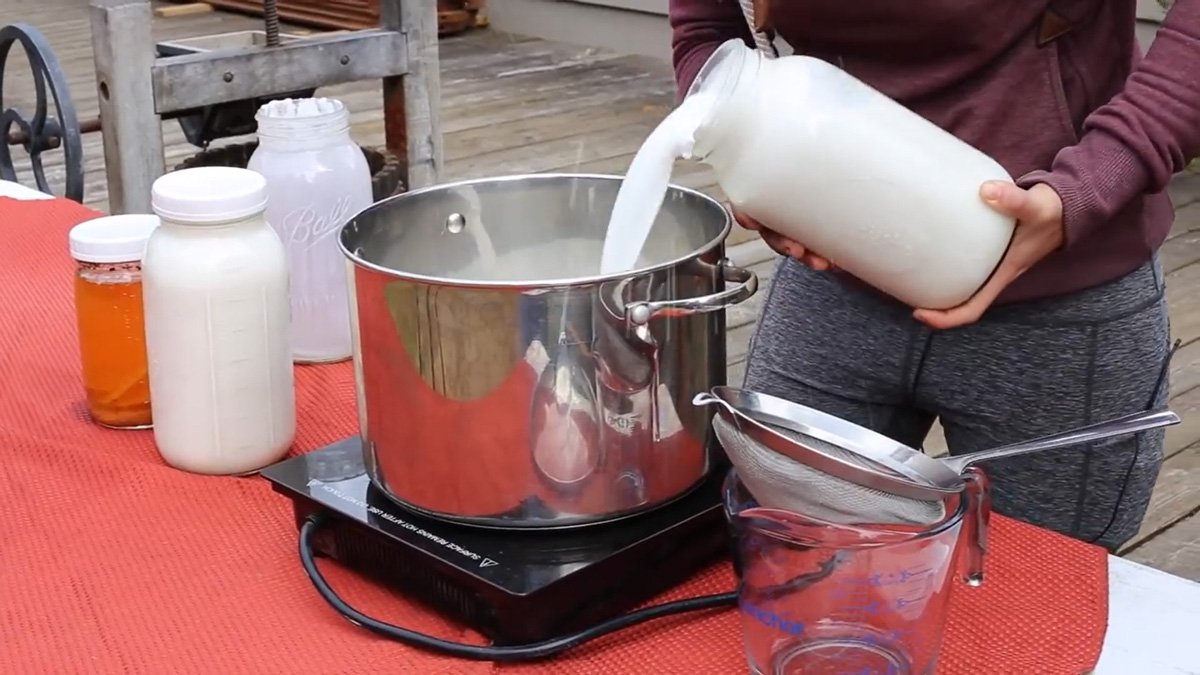
In a large pot heat the milk, stirring occasionally to prevent the milk from burning to the bottom of the pot until it reaches about 175 degrees F.
Add the Acidifier
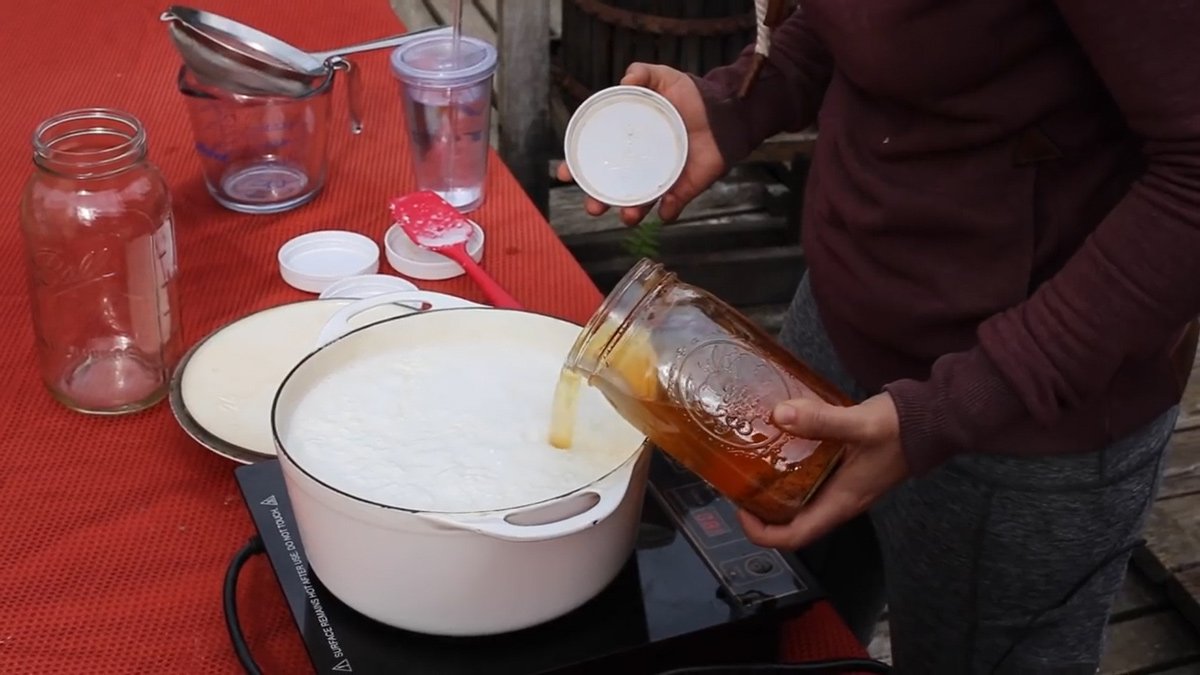
Keep the heat on, and to the heated milk, add the apple cider vinegar or acidifier of choice.
Allow Curds to Form
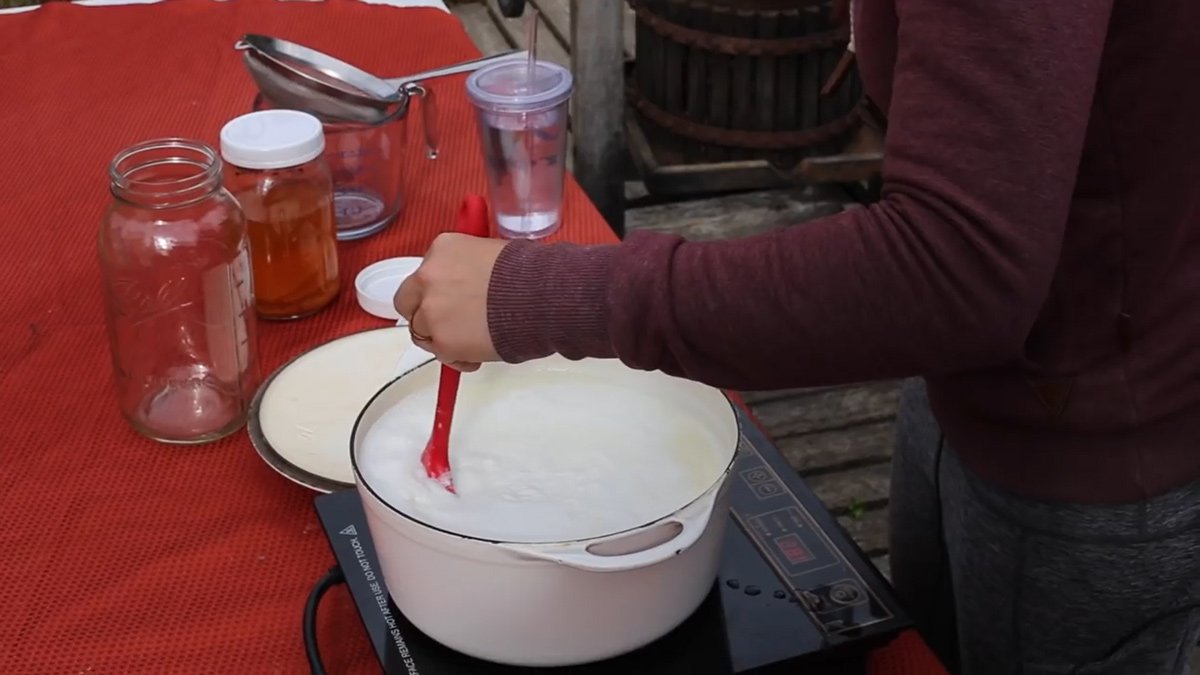
After adding the acidifier, continue to stir the curds gently to ensure they do not burn or get too disrupted as they begin to form. Continue to stir gently for about 10 minutes until the curds have completely formed and absorbed all of the acid.
Strain the Curds
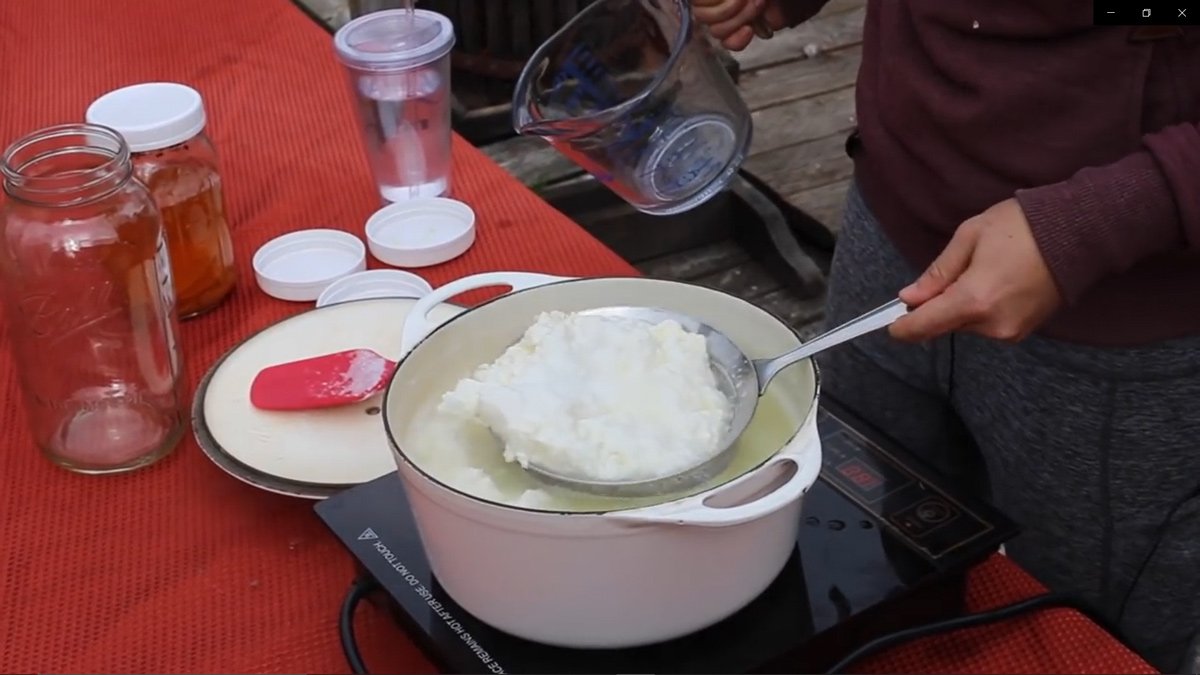
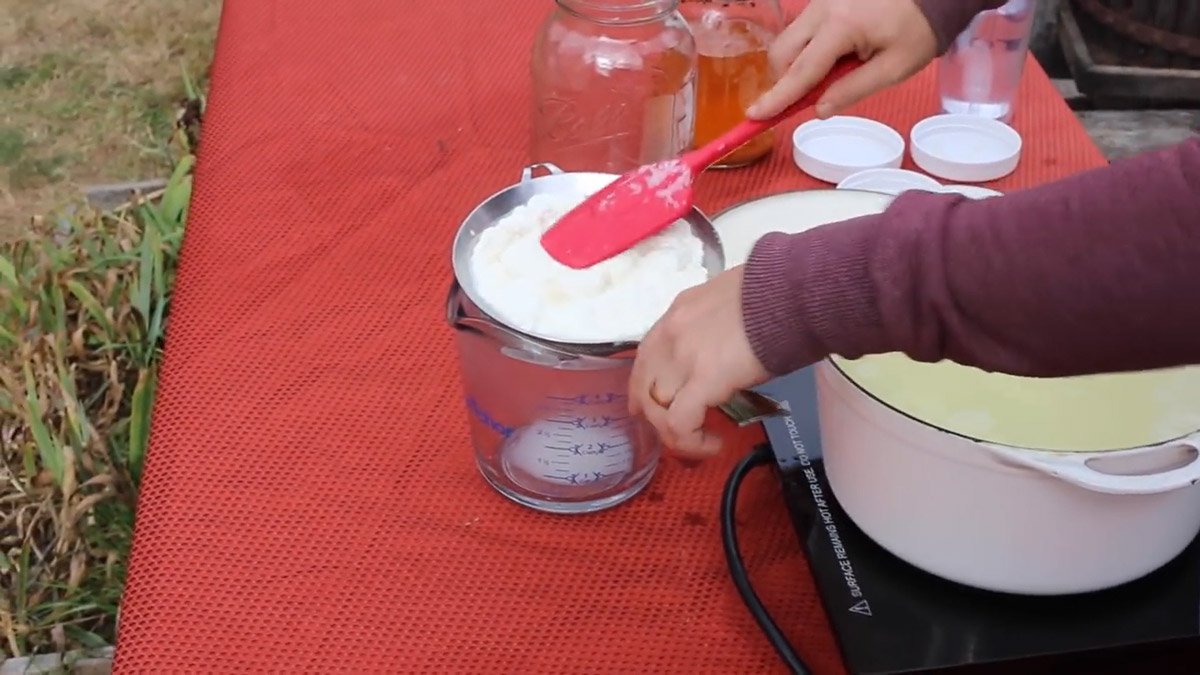
Using a strainer, collect the solid curd out of the remaining liquid (whey).
Depending on the consistency you prefer your cheese, transfer the curds to cheesecloth to hang and allow the maximum moisture to drain, or simply leave the curds in the strainer and set the strainer over a bowl to drain for at least 30 minutes.
Whey
The remaining liquid byproduct is known as whey and has a myriad of uses around the farm. You can use it as a liquid substitute in baking, add it to smoothies and soups, or feed it to your pets.
I share my favorite recipes using whey in my Homesteader’s Guide to Milk - Digital Course, where you will also learn how to make homemade yogurt, mozzarella, hot pudding, custard ice cream, and butter complete with troubleshooting tips, meal prep advice, and more!


