
Building a Hugelkultur Raised Bed


A hugelkultur garden bed will help you to stop over-watering your garden! When planting a garden, it’s very easy to think our plants need more water than they actually do. But how much water is too much and how much water is too little?
Learn how to build a hugelkultur bed and how to tell if you’re watering your garden enough, plus ways to ensure your beds will retain moisture longer.

Stop watering your garden! In the video below, learn how to make a hugelkultur garden bed using inexpensive materials you may even have on hand.
If you’ve followed me for long, you know how much importance I place on soil health. Without good soil, your garden will not flourish. Read this post for more tips on how to improve garden soil if you already have an existing garden. Or, if your soil is depleted and in need of an overhaul, keep reading to learn how to build a hugelkultur bed.
What is Hugelkultur?
Hugelkultur is German for hill culture or hill mound. It basically means building a raised garden bed using wood materials or wood shavings to pile up in a mound. You then layer on compostable materials and soil until you have a raised bed, usually 1-2 feet high, to plant your garden in.
Using tips I've learned from the Back To Eden gardening method, lasagne gardening, and many other methods, I'm applying permaculture techniques like hugelkultur as I build the garden and amend the soil on our new farm.
Because these types of beds need much less watering, this means my garden is working for me instead of me having to work for it.
Why I Love Hugelkultur Beds
This gardening method builds up the soil structure into a giant sponge. Because It holds moisture so well without becoming waterlogged, you’ll find yourself needing to water your garden much less often.
In fact, after using this method in my garden for five years in Seattle, I'd built up the soil so well that during a summer-long drought in 2019, I only had to water my garden twice. Conserving water and saving time? Sign me up!
Benefits of Hugelkultur
Many people love building hugelkultur garden beds because the soil they have to work with isn’t the best. It’s a fantastic way to utilize the space you have, even if it’s not ideal.
Because of all the woodchips in these garden beds, they essentially act like a giant sponge, holding onto moisture and releasing it slowly to your plants as needed.
Also, because the soil drains very well, you don’t have the risk of overwatering your plants to the point they become water-logged. Plant roots need oxygen, and when they’re submerged in too much water, they essentially become choked out and can die.
These garden beds take the guesswork out of watering and make everything work just right.

How to Build a Hugelkultur Garden Bed
Here in Tennessee, we have a lot of clay in our soil which isn’t great for growing a garden. I knew I was going to need to bring in organic materials to help amend the soil and the hugelkultur method has never let me down.
Add a layer of rotting woodchips
The first step in building my beds is to add a layer of rotting woodchips over the soil. Try to plan out your garden and bed design before building your raised beds so you know exactly where your garden beds and walkways will be.
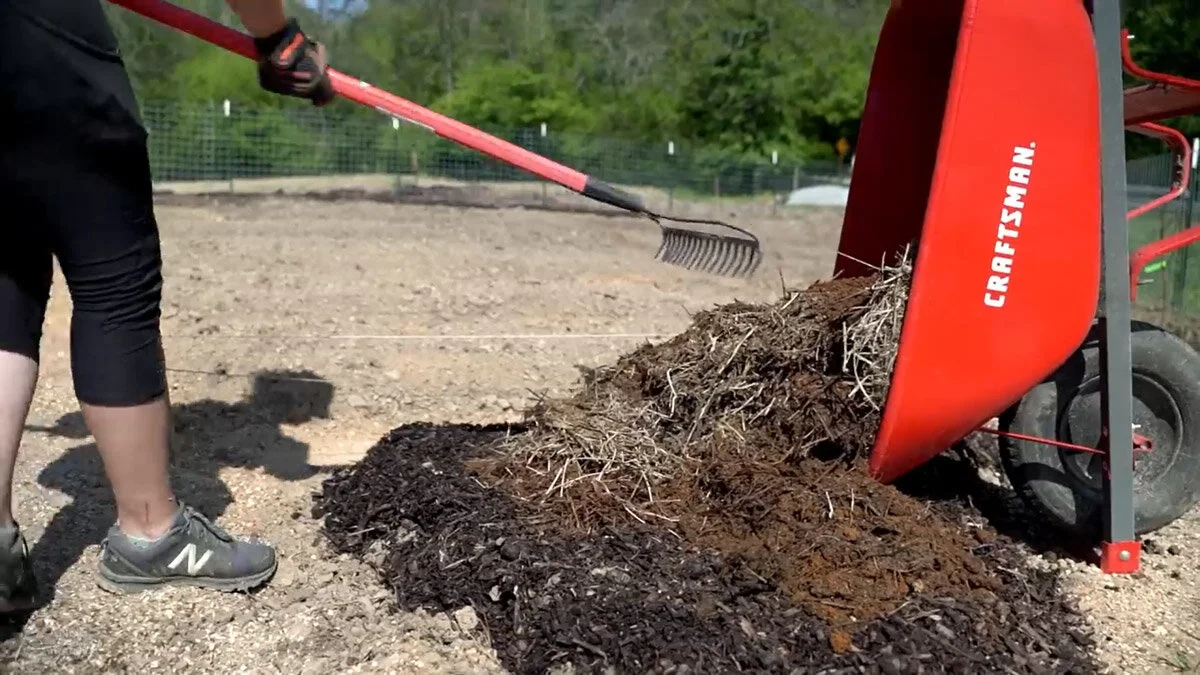
add a layer of manure
Over the rotting woodchips, you’ll want to add a layer of composted manure to help bring nutrients to the soil. I would have liked my manure to be a bit more “aged”, but I also knew it wouldn’t be too hot for my plants so… when working with what you have you sometimes have to make do!
If you have large clumps of uncomposted hay, go ahead and move it to the sides of your garden rows. Uncomposted hay isn't great for gardens because it tends to have a lot of seeds, but moving them to the perimeter will actually help retain moisture.
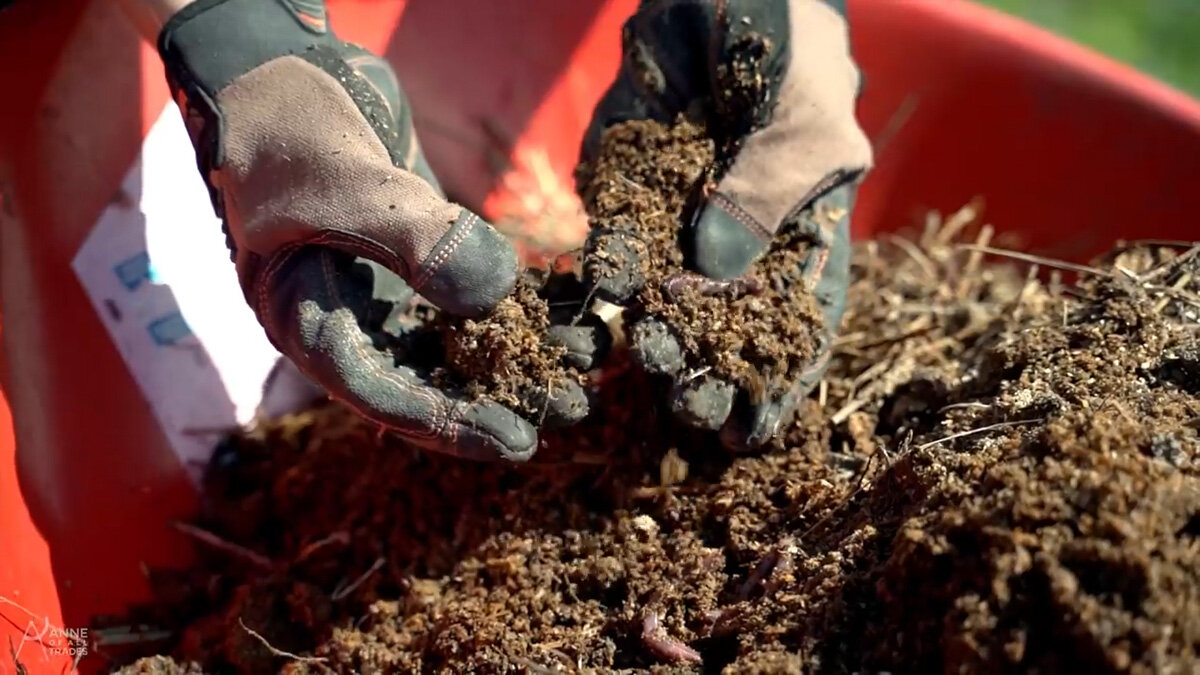
And when you have little critters in your compost pile, that’s always a great sign of life! Check out those earthworms in the photo above!
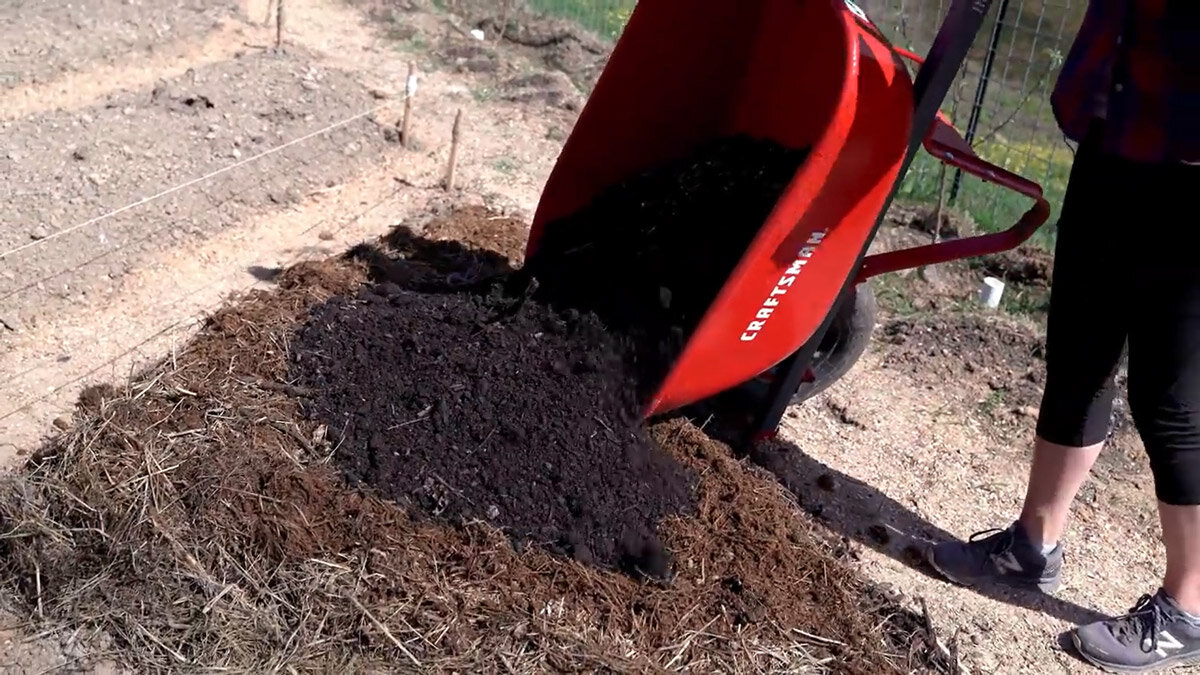
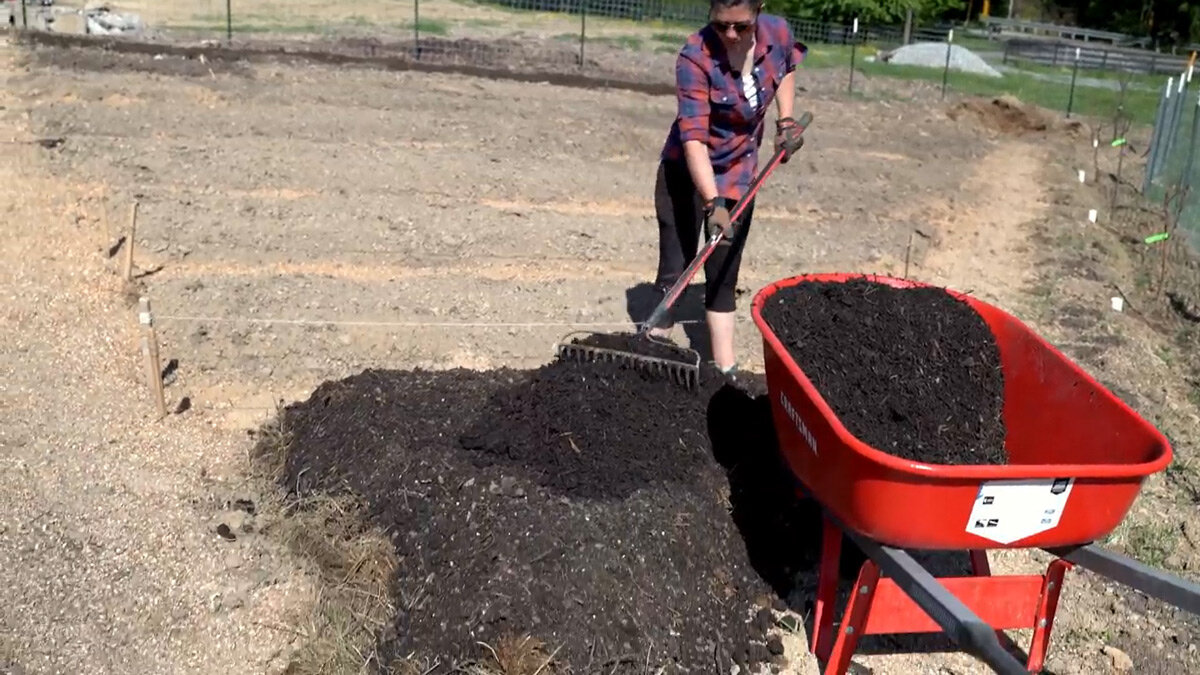
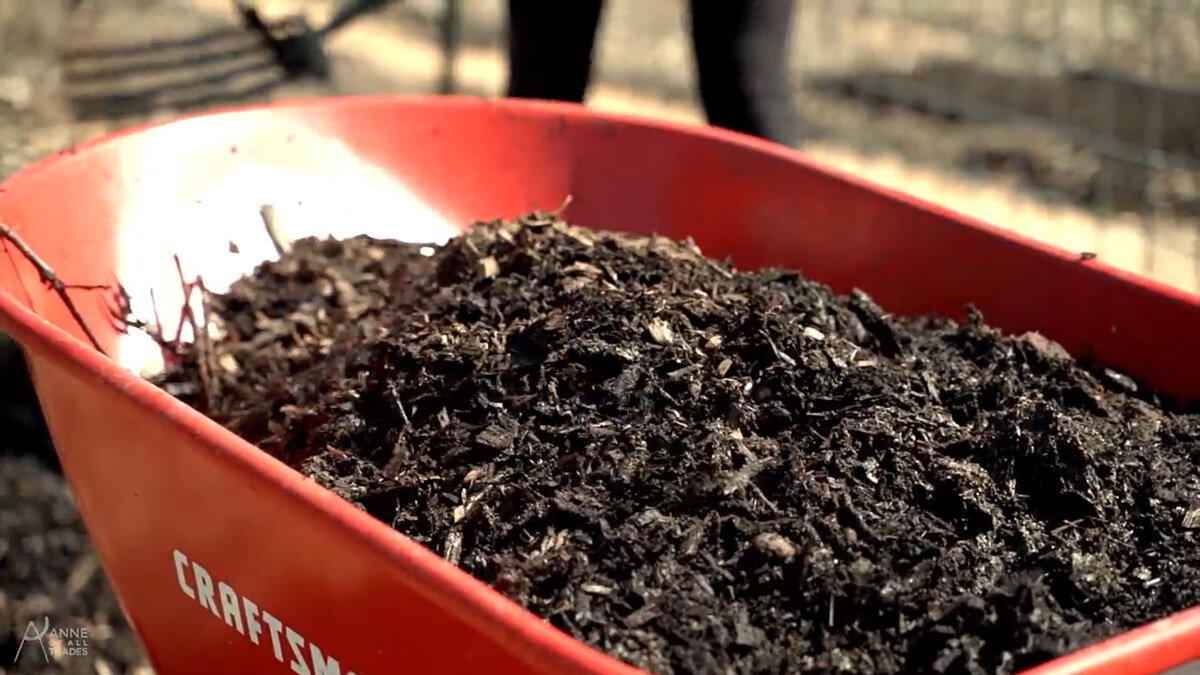
Add a layer of soil
Next, add a layer of ready-to-use soil. I like to use soil that's been super-boosted with minerals from my friend’s fish-composting area. If you don’t have amazing soil available to you, you can also amend your beds by watering with a mixture of water and homemade compost tea (and you can build your own compost tea brewer!)
It's important to know when using woodchips, that fresh woodchips will want to take up a lot of the nitrogen from the soil. So it's even better if you can use older woodchips that have been sitting for a year or more.
In that top layer of ready-to-use soil, try to get 60% compost to 40% composted mulch.

plant your garden
Once you’ve built your beds to this point, you’re ready to get some seeds in the ground or transplant your starts into the soil.
I love utilizing all parts of the beds by planting my vertical-growing plants on the top of the bed, planting pest deterring crops along the outside edge, and planting “creeping” vegetables and herbs around the sides of the beds to help keep the beds from eroding.
I recommend planting your garden in the evening to give your plants more chances to thrive. If you plant in the evening, they have a full 12+ hours before the sun rises and the heat of the day gets to them.
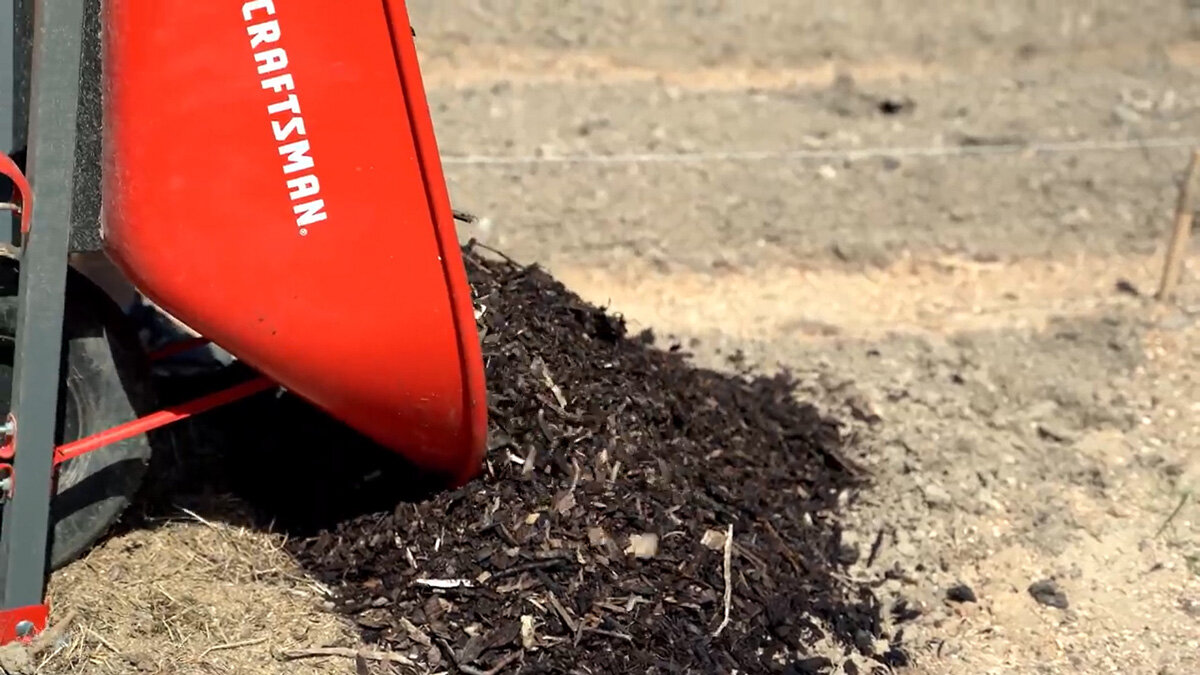
add a layer of top mulch
Finally, once your garden is planted, add another layer of 60% compost 40% mulch. This gets layered on top to help protect the soil from erosion, to help lock in moisture and keep the water from evaporating.

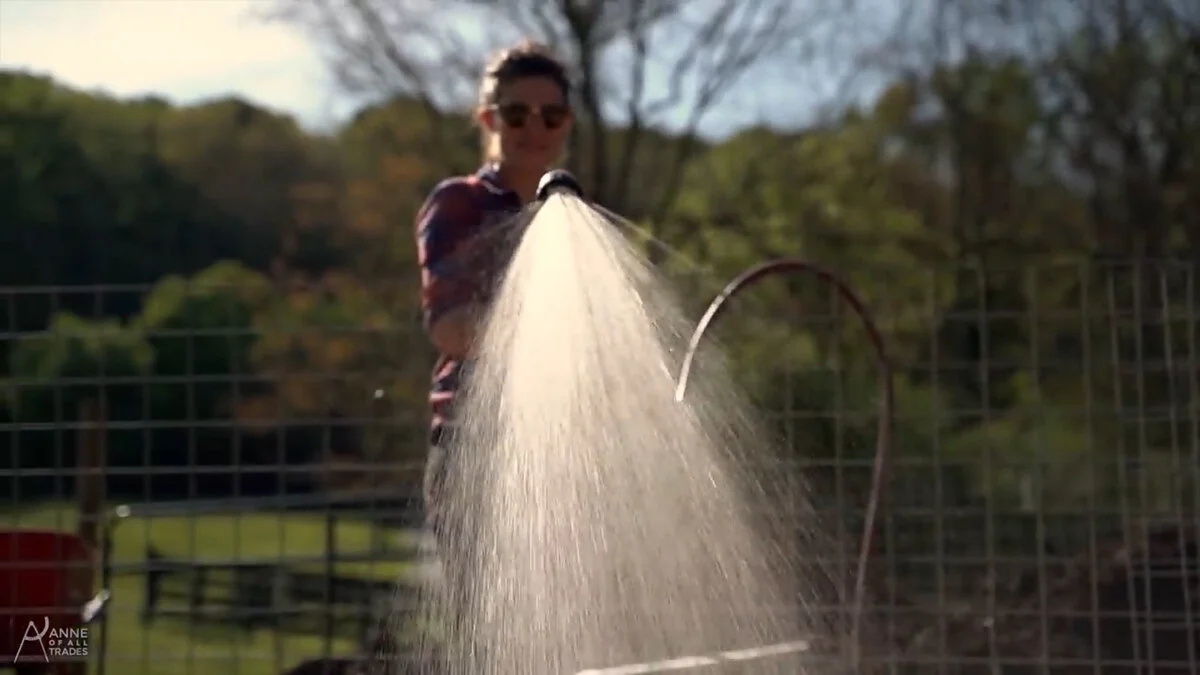
Water
Give your plants a nice deep watering, then just let them grow! Be sure to check out my post on the top 3 gardening problems to know if your plants are getting enough water or not!