
Inexpensive Sharpening Setup for Getting Started
Sharpening seems to be clouded in mystery for no better reason than the fact that there is so much information available, so much equipment and gadgets and gizmos you “need” to buy, and too many strong opinions on how to get from point A (dull tools) to point B (sharp tools). But you don’t have to be a wizard or have the fanciest, most expensive setups to get where you need to go.
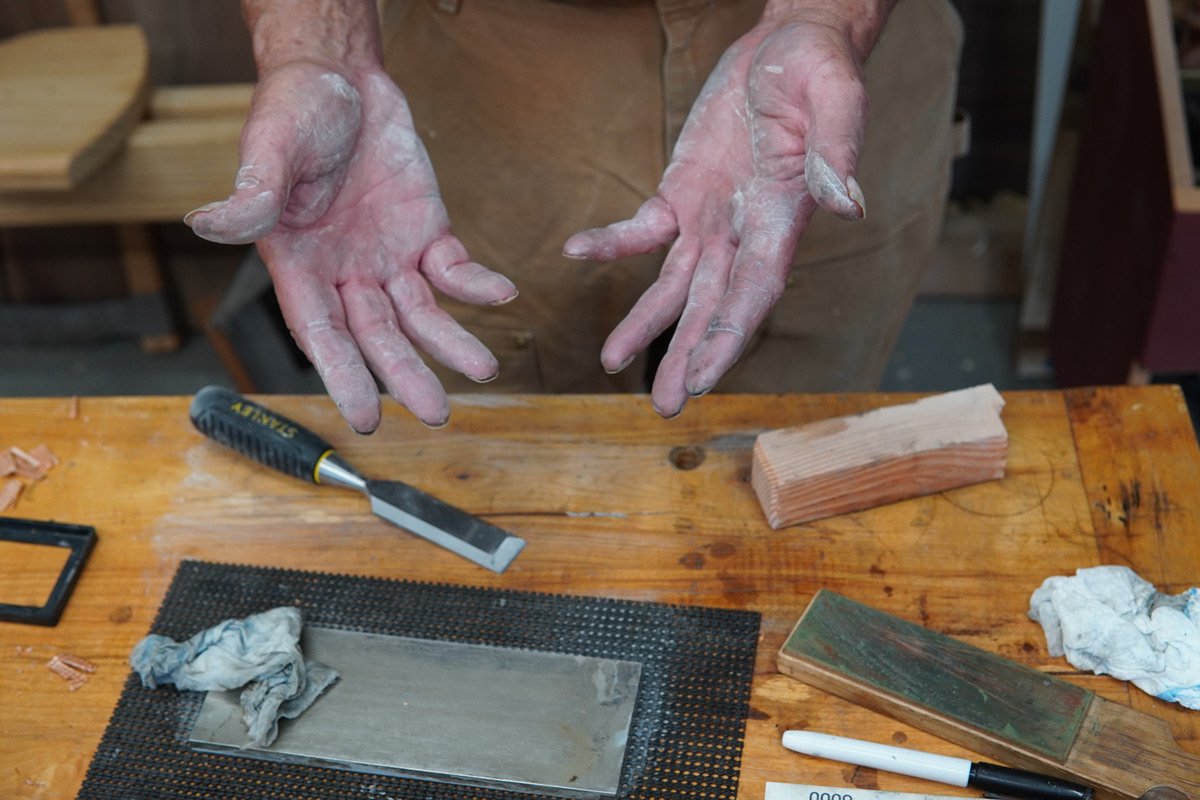
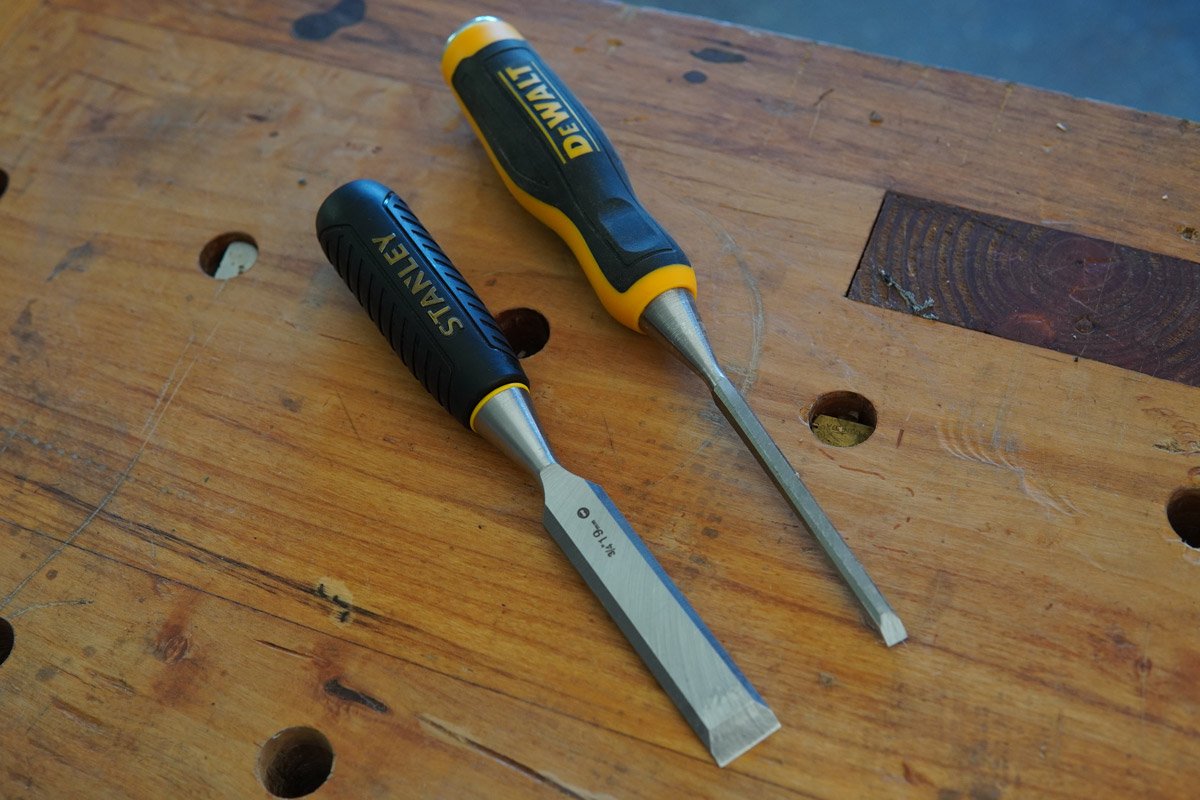
In the video below I’ve invited one of my good friends, and mentors, Steve Dando to my woodshop. He’s going to be demonstrating how we can take an inexpensive $11 set of 3 chisels, an $11 sharpening set that includes 1000, and 6000 grit water stone, a piece of plate glass, and some wet/dry sandpaper and make the inexpensive tools give results like a professional toolset.
Total cost of all these supplies was about $55, which is the exact cost of one Lie-Nielsen chisel.
You don’t need to use every item we used in the video above, below I’ll list out the must-have items, the additional helpful items, then those items that aren’t necessary, but certainly make the job easier.
Beginner Setup Supplies
For the sharpening set
3-pack of chisels from your local hardware store
Additional items needed
Pencil
Bucket of water to soak the stone
A sheet of plate glass and 250 grit Wet dry sandpaper* OR a Diamond Plate
* A note on grits - The smaller the number on the grit, the larger the “rocks”, the larger the number, the smaller the “rocks”. This is why we tend to start with a smaller number and work our way up to a larger number to really fine-tune the sharp edge of our tools.
Nice to have items
Spray bottle
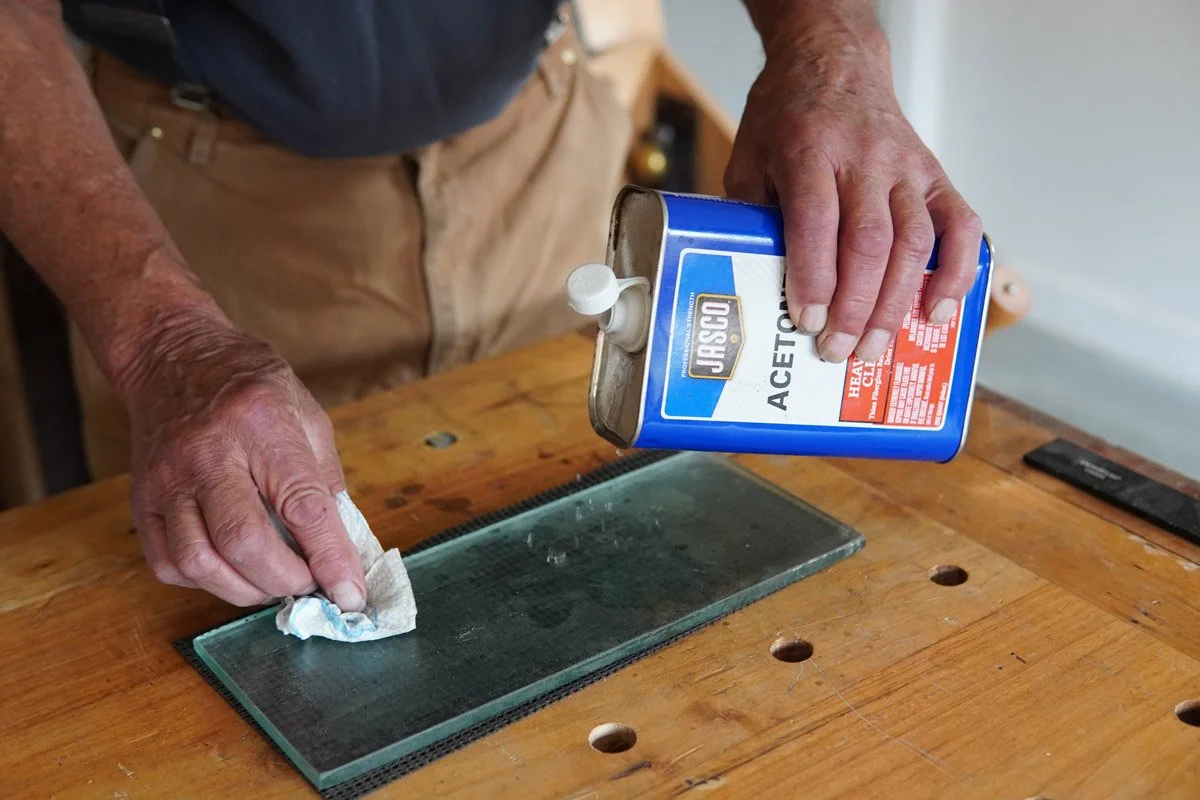
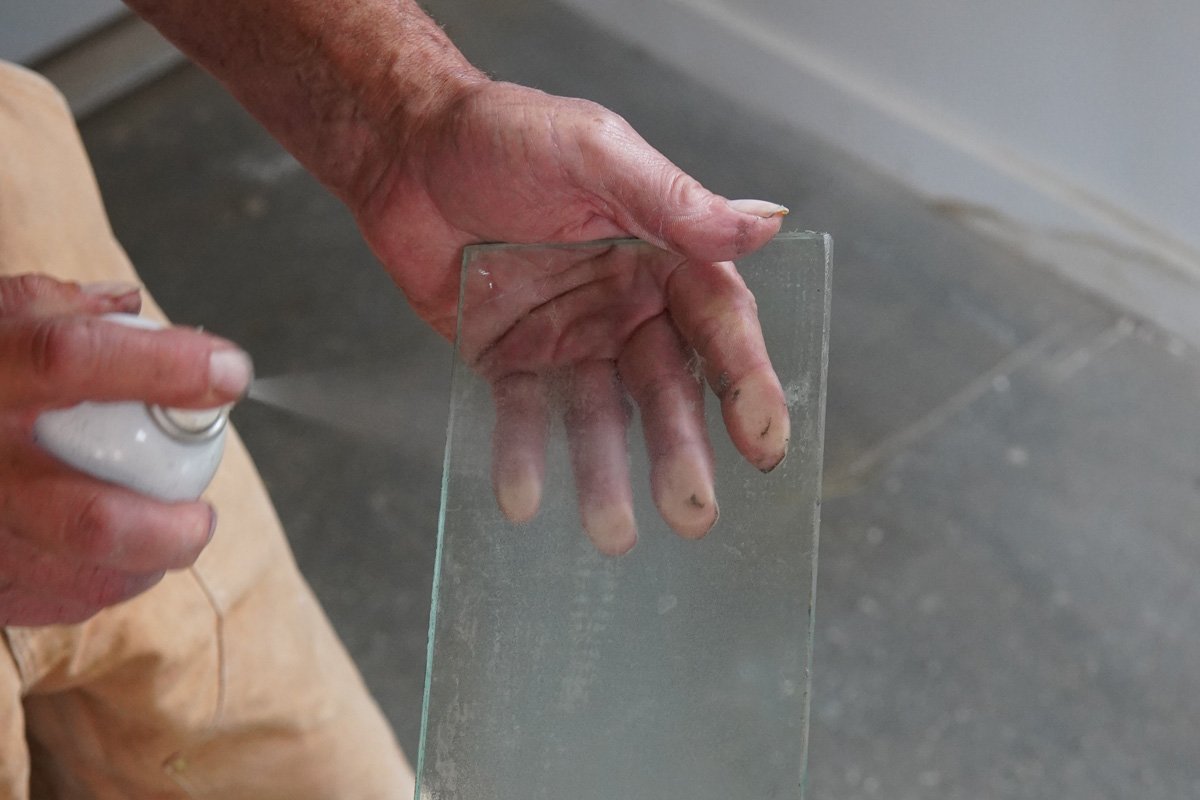
Razorblade, acetone (for cleaning plate glass), and spray adhesive
Microfiber cloth
Jojoba or Walnut oil

How to Use a Sharpening Kit
The following ten steps will walk you through how to sharpen your inexpensive chisel set using this $11 sharpening kit.
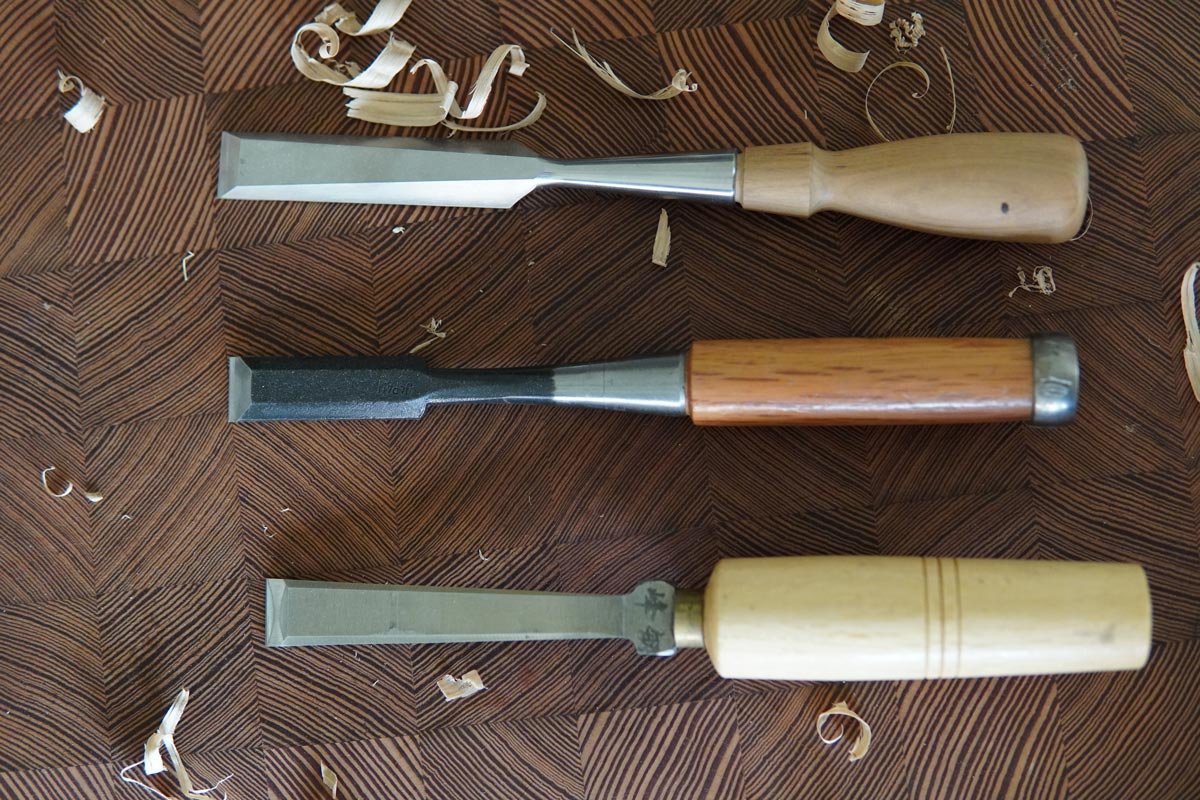
For a more in-depth primer, click here for proper body mechanics when sharpening a chisel. And click here to learn more about the different types of chisels, steel quality, and more.

Step 1: soak the Waterstone
Submerge the Waterstone for about 10 minutes prior to use (or until bubbles stop coming out of the stone while underwater).
To ensure you’re starting with a completely flat stone, watch the video above for my tips on how to be certain your stone is flat. This could help alleviate years of frustration when trying to sharpen your tools!
Step 2: flatten the back of the chisel
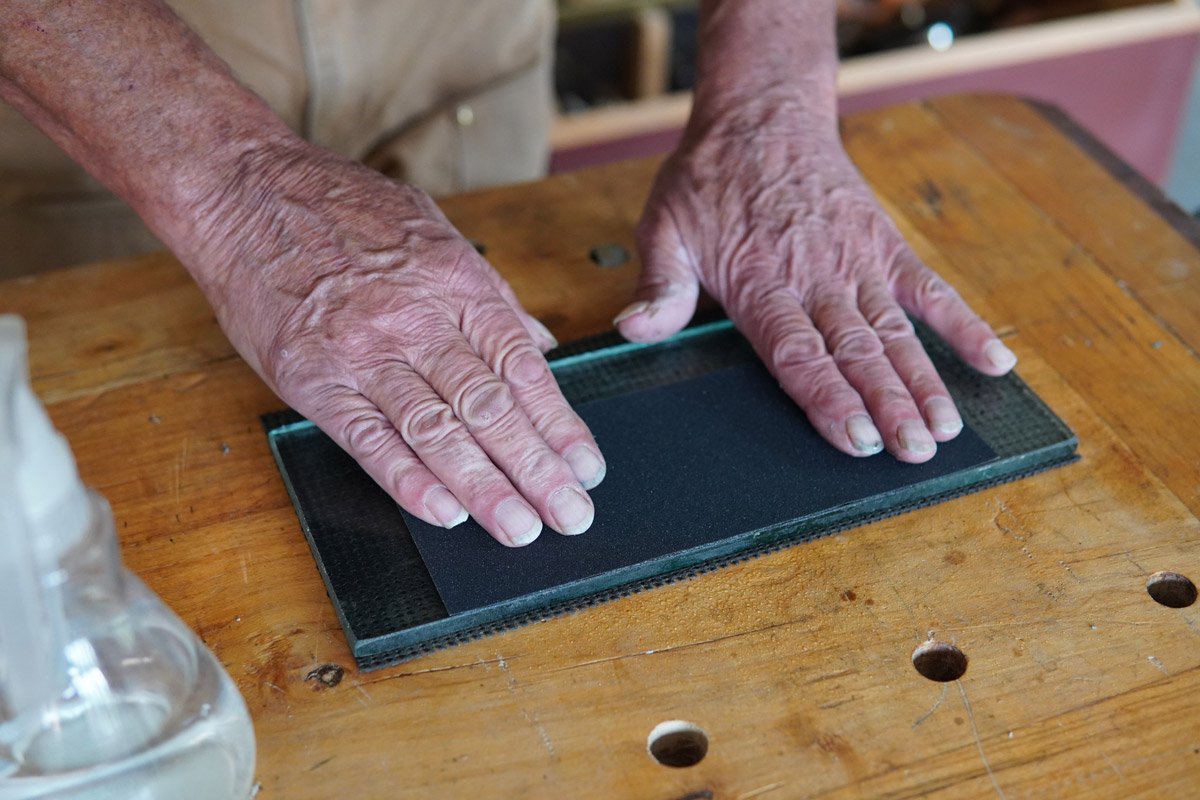
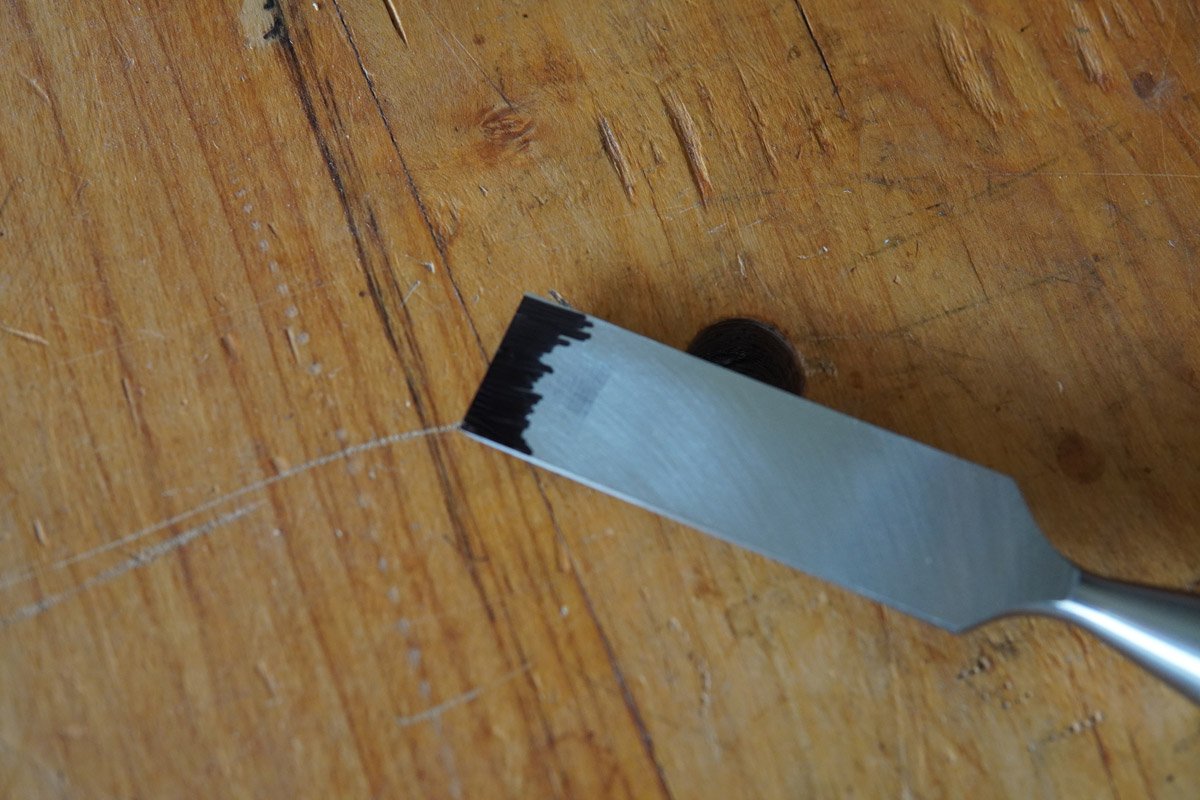
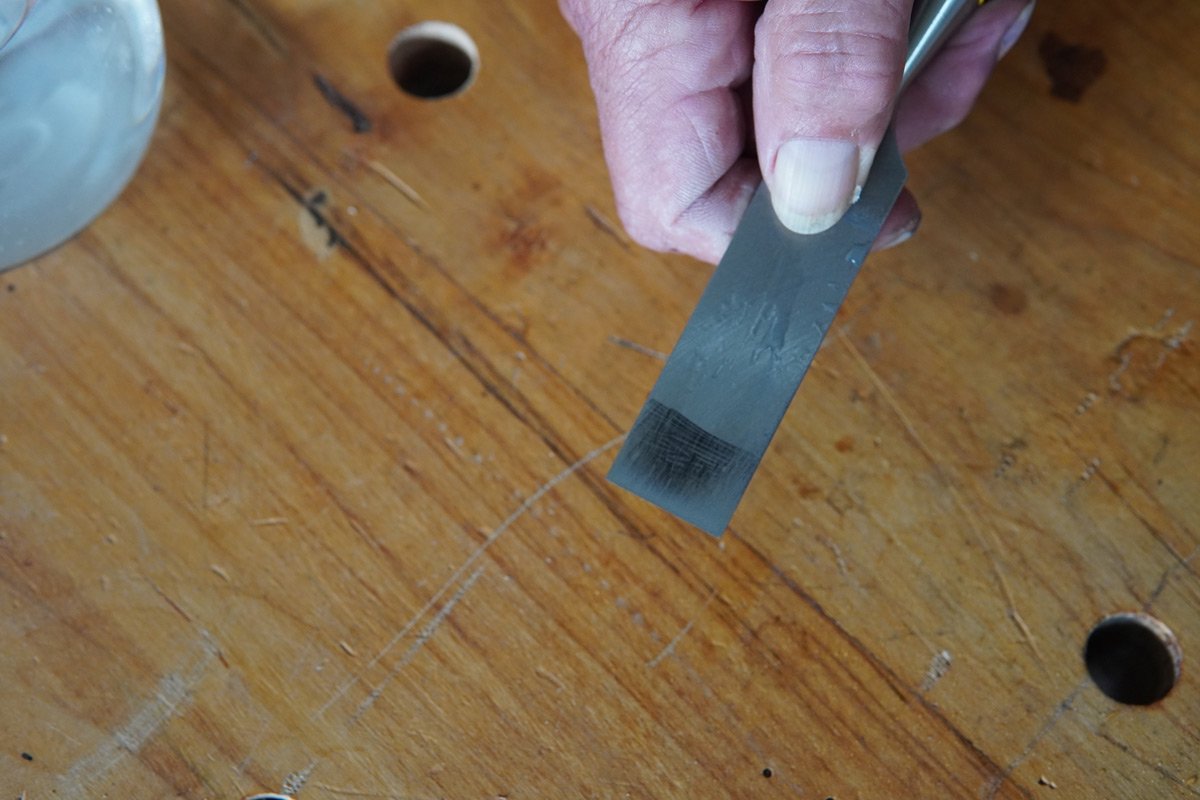
Adhere a 250 grit sheet of wet/dry sandpaper to your plate glass. Mark out the back of the chisel with a sharpie to see where the material is getting removed.
Lay the chisel flat on the stone, flatten the back.
This can be a really long, frustrating process, especially with cheaper chisels because they tend to have been ground with a much larger abrasive and will have had less “human contact” than their more expensive counterparts.
With the chisel set I purchased, I really lucked out. It was nearly perfectly flat out of the box, and all that was needed was some time removing that original factory scratch pattern with my 250 grit paper, but be advised that this isn’t always the case.
Step 3: remove deep scratches on bevel from factory grind
Basically here we’re looking for the scratch pattern created on the bevel from the factory to be replaced by the 250 grit scratches from your wet/dry sandpaper on plate glass.
Step 4: flatten the water stone
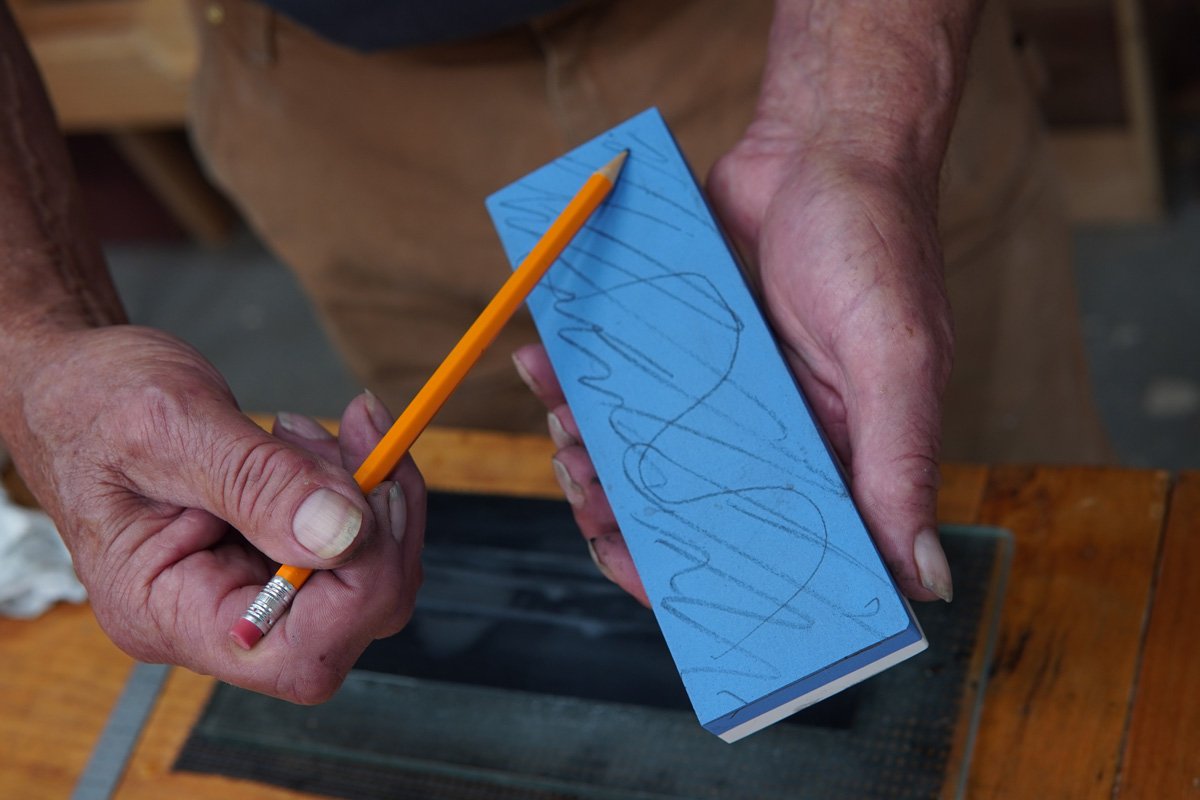
Mark a grid on the Waterstone with a pencil - if all the pencil lines get removed within the first few strokes, you’ll know the stone was pretty flat to start.
The pencil lines will help you identify un-flat areas of your stone - hollows, uneven areas, etc.
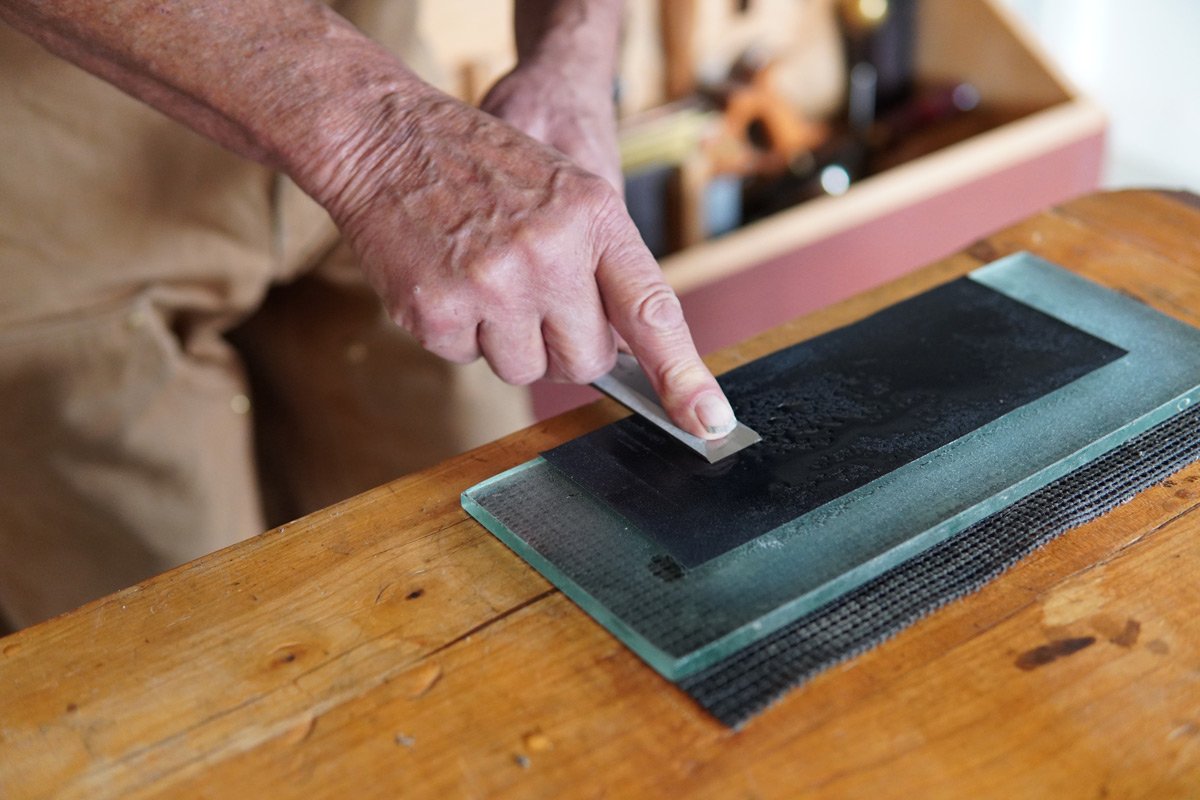
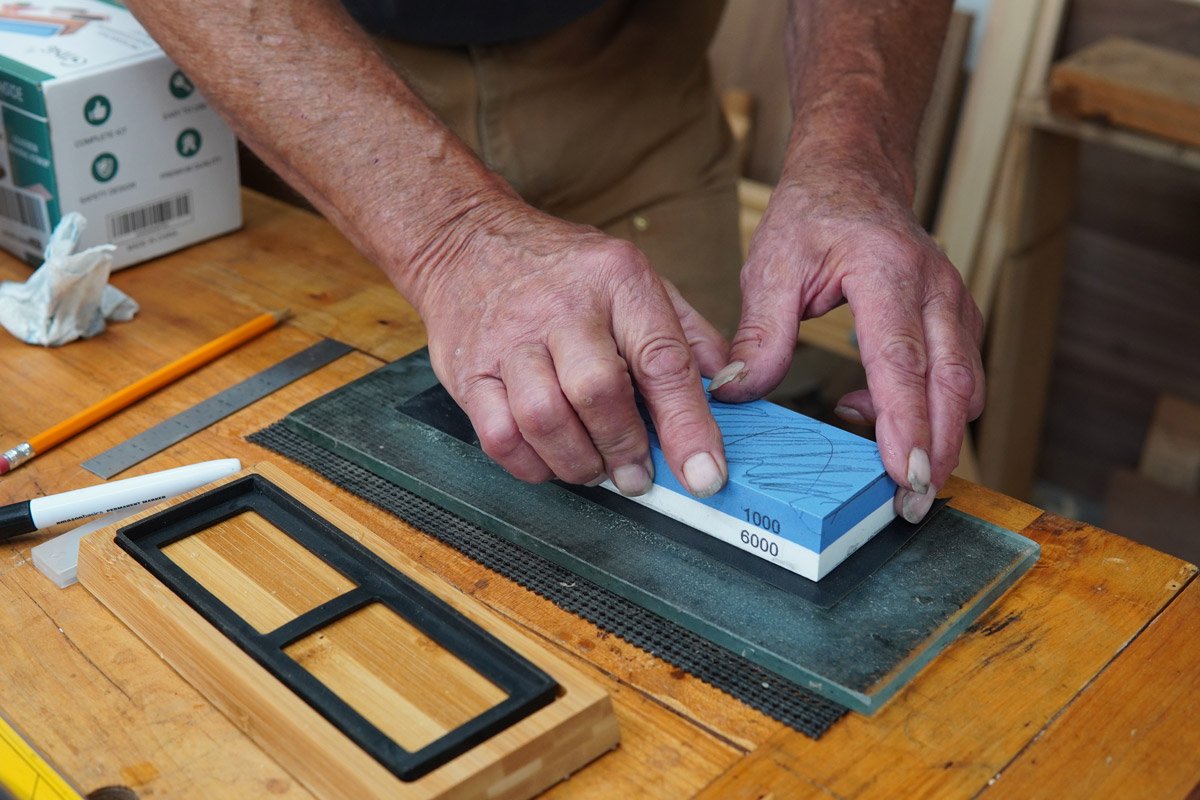
Lay the Waterstone flat on the 250 grit paper on the plate glass and move the stone back and forth using the whole sheet of paper. Check often to see your progress. You’ll probably have to add some spritzes of water from time to time to re-lubricate.
Every few strokes, flip the stone lengthwise so you are wearing it evenly during the flattening process. This helps even out any pressure differences depending on how you’re holding the stone/where you’re applying pressure, etc.
Your stone has two cutting sides, one is 1000 grit, one is 6000 grit. Flatten both sides, but be sure to flatten the 6000 grit side first then the 1000 grit side to avoid contamination.
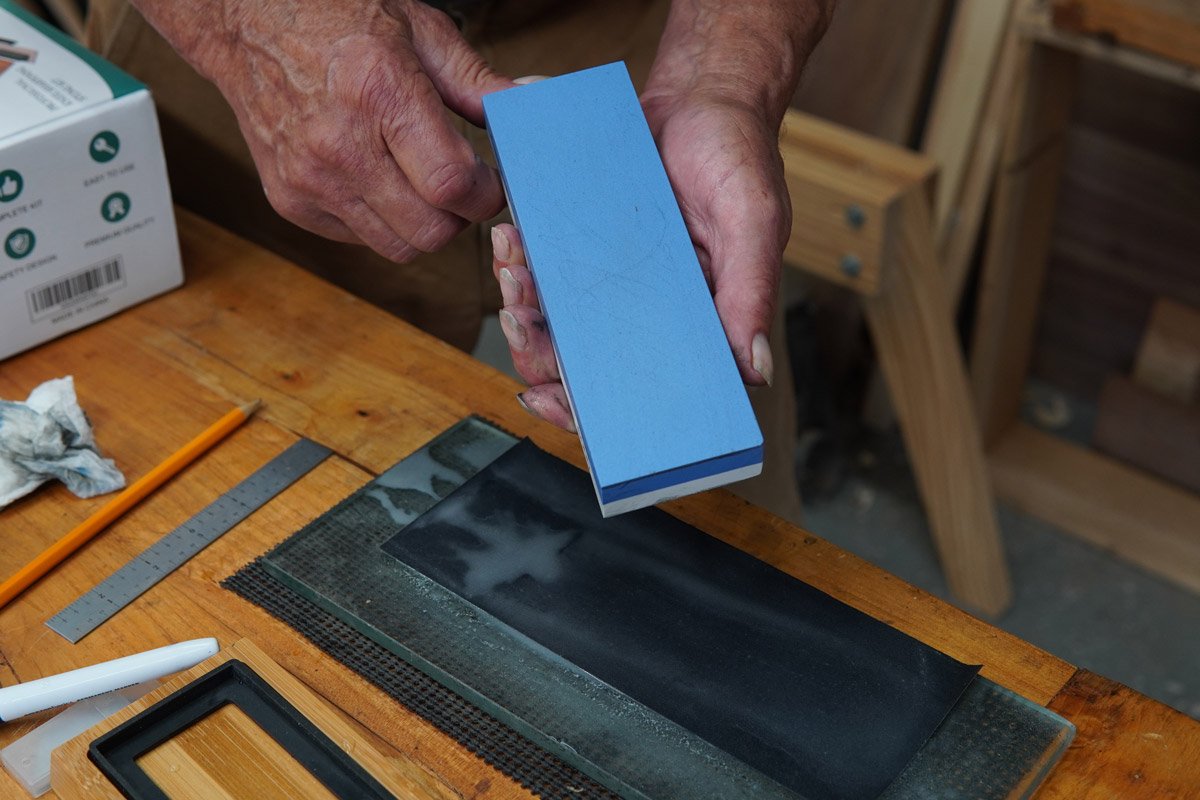
When the pencil marks have been removed from both sides of the stone, you’re ready to use the stone.

Step 5: Using the 1,000 grit side of the water stone, flatten the back of the chisel
When you’ve removed the 250 grit scratches from your wet/dry paper on the plate glass and you can feel a burr raised across the entire bevel of the chisel edge, you’re ready to hone the bevel.


Step 6: Using the 1,000 grit side of the water stone, hone the bevel of the chisel
When you’ve removed the 250 grit scratches from your wet/dry paper on the plate glass and you can feel a burr raised across the entire back of the chisel edge, congratulations, you’ve created what’s known as a Zero Radius Intersection (aka a sharp blade).
Step 7: Remove the burr
Flip the chisel over and take two quick strokes on the stone to remove the burr you’ve just raised.
Step 8: Final Honing at 6000 grit
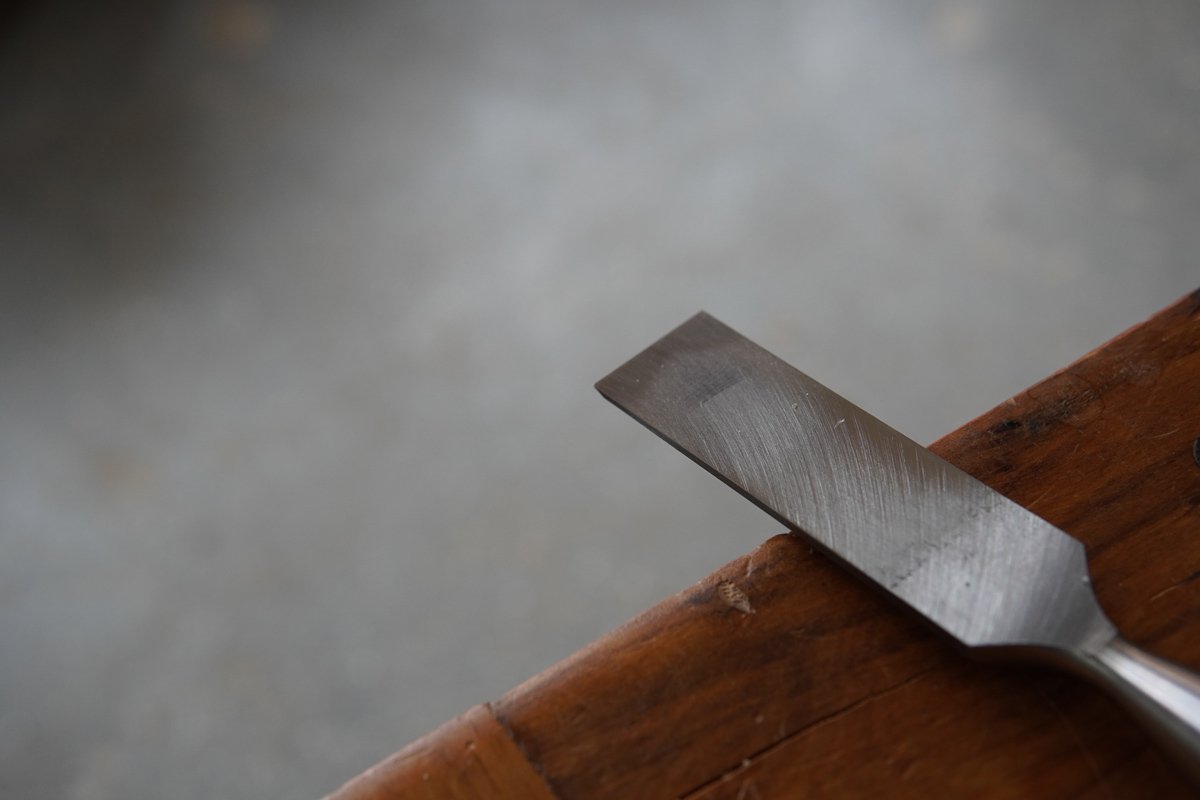
Now, you’re ready to polish the back of the chisel and the bevel on the 6000 grit side of the Waterstone. Remove those 1000 grit scratches, raise a burr, and remove that burr on both the back and bevel of the chisel.

Step 9: Optional- Stropping
Stropping is a great failsafe. Because the glass and the stones are so hard, any micromovement of our body during the sharpening process, intentional or not, has the potential to affect the effectiveness of our sharpening.
Because a leather strop is soft, it can “bend” to the tip of the chisel a little bit and offer a little “insurance” policy to catch any uneven bits on the back or bevel of the chisel.
The danger with stropping, due to that soft leather surface, however, is rounding the blade back or bevel unintentionally from over stropping, so be mindful to keep your chisel back flat on the strop, and be extra careful not to raise or lower your bevel at all while pulling it along the strop.
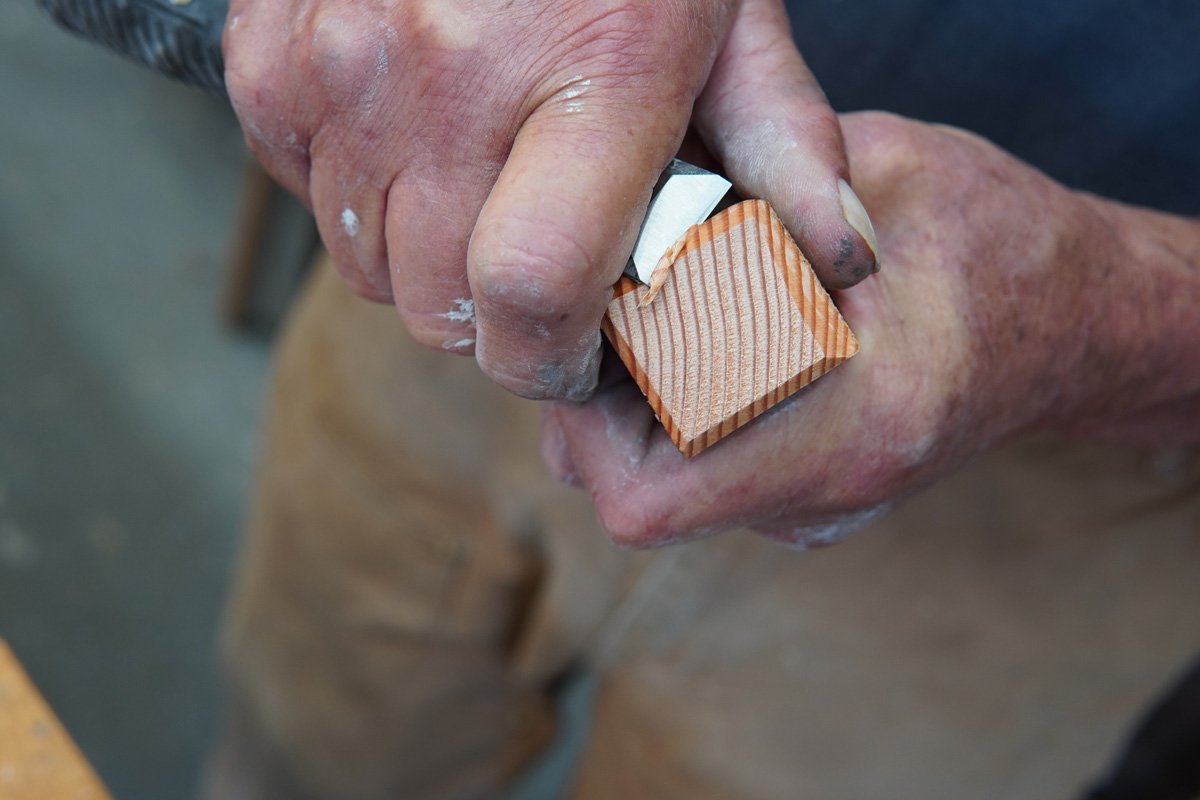
Step 10: Test your chisel
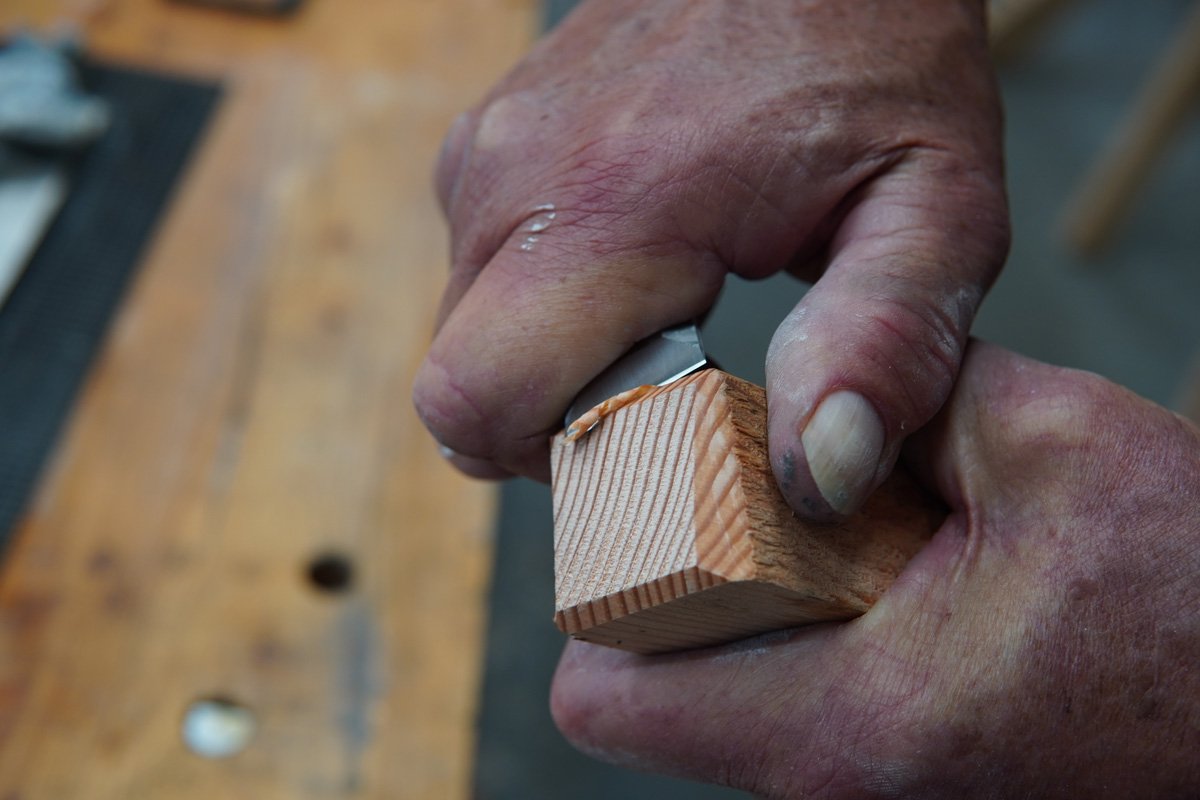
*A quick word on safety: Keep all soft (skin) bits behind the chisel at all times. Keep control of your chisel so it doesn’t have the opportunity to slip and move unpredictably. Whenever possible, secure your work with a clamp or vise.
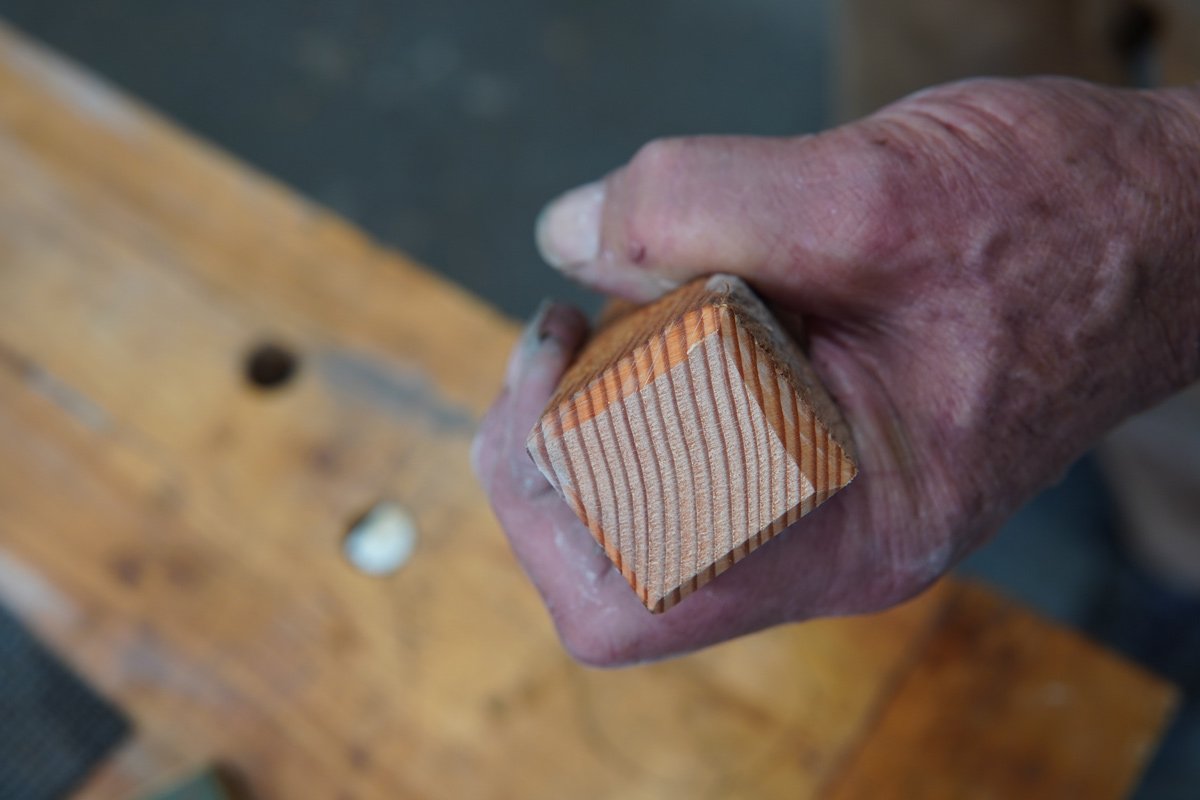
A sharp chisel should be able to take a transparent shaving from the end-grain of a piece of wood. Extra points if the shaving curls away from the cut.
A sharp chisel makes shavings, a dull chisel makes dust.
A sharp chisel leaves a crisp, clean (almost polished looking) surface, a dull chisel leaves a matte, jagged surface.
Final Thoughts:
For the financial investment, I’m extremely impressed with both the quality and useability of the $11 chisel set and the $11 Waterstone setup. I usually advise people to “buy once, cry once” when it comes to tools, but this is an exception for a few reasons:
First, because sharpening tools by hand involves a certain learning curve. You only get better through practice. Starting with really expensive tools and fancy Waterstones makes for a pretty nerve-inducing practice process along the initial learning curve. You can really screw both your chisel and your stones up in a hurry if you don’t know what you’re doing, so it’s better to start with some beaters and make your first mistakes on those.
Second, because even if you do invest in some nicer chisels at some point, you’re always going to want to have a few “beater” tools to lend to neighbors, to use on construction projects, etc. I, for one, don’t want to install windows using my Lie-Nielsen chisels lest I run them into a nail or drop them on the concrete. But I’ll happily grab and use these cheaper tools for rougher jobs indefinitely.
Third, because this two-sided Waterstone should serve you well into your first few years of woodworking. If you keep it flat and practice regularly, you’ll be a far more discerning customer when (if) the time comes to upgrade it. To be honest though, I myself would be tempted to keep the Waterstone and instead invest in a 300/1000 grit diamond stone rather than the plate glass for flattening purposes. A diamond stone/2 grit Waterstone combination is all I personally have in my basic sharpening setup, and I don’t have reason to complicate it further and, frankly, I have no desire to spend any more time or money on any other bells or whistles when it comes to sharpening.

Other Posts You May Enjoy
If you want to learn how to sharpen ANYTHING, check out our live class! Or check out these other posts below: